
Chocolate pudding is the ultimate comfort food. It’s creamy and rich. It’s indulgent too, so it’s a favourite for sweet cravings. What if you can’t have dairy? Or you’re vegan? You might want non-dairy choices. That’s where dairy-free chocolate pudding comes in! This guide is for everyone, from dessert pros to newcomers. Make tasty pudding using non-traditional milk.
Jump to Recipe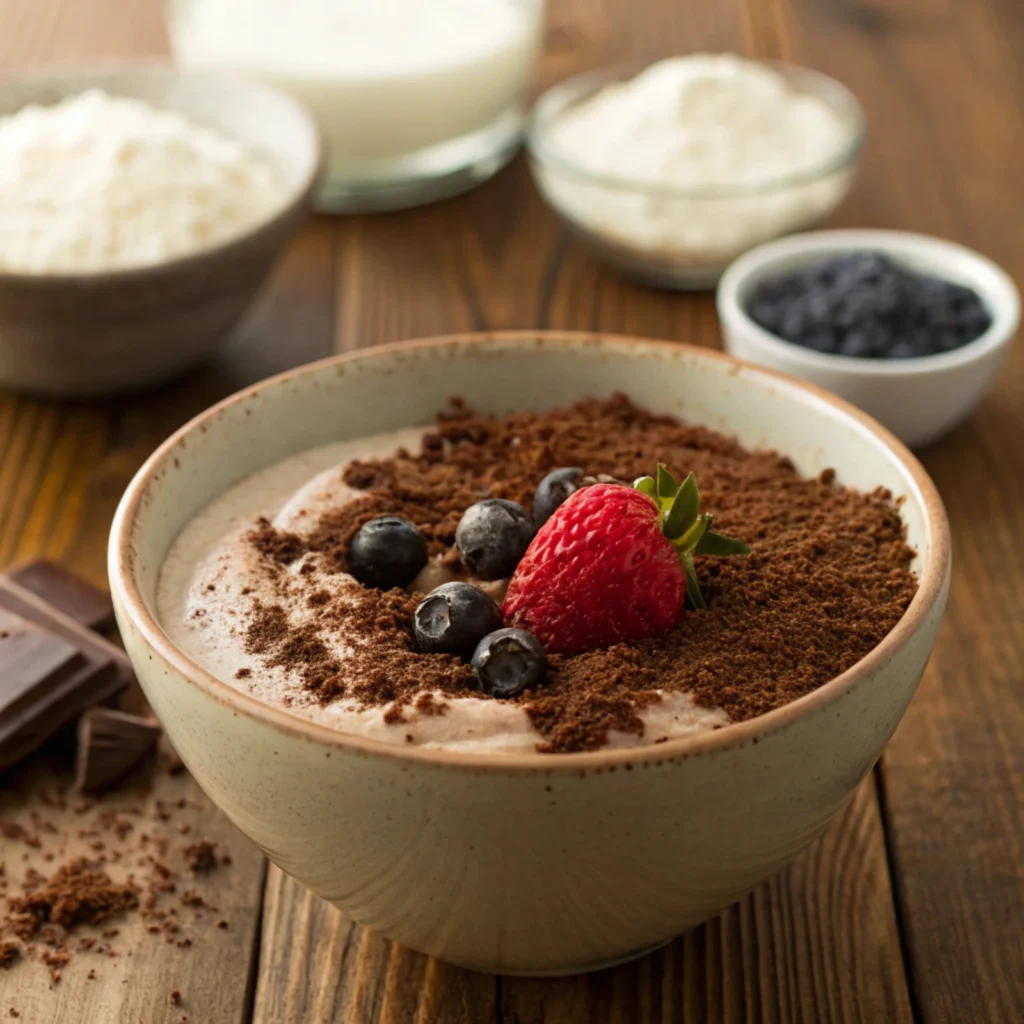
Ingredients for Dairy-Free Chocolate Pudding
Check out the key ingredients that make this pudding creamy and tasty.
Base Ingredients
These ingredients create the pudding’s base. They also enhance its texture and chocolate taste. Here’s what you need:
- Cocoa powder: Use unsweetened cocoa for a strong chocolate taste.
- Cornstarch or arrowroot powder thickens the pudding. This gives it the right consistency.
- Plant-based milk: Try almond, coconut, cashew, or rice milk for taste. For a creamier texture, go with full-fat coconut milk.
Sweetener Options
You can customize the sweetness of your pudding. Here are some sweeteners to try:
- Granulated sugar: A classic choice that is easy to use.
- Coconut sugar: Adds a hint of caramel flavour.
- Maple syrup and agave nectar both bring natural sweetness. They also have a light flavour.
- Stevia and other natural sweeteners are ideal for low-calorie and low-carb diets.
Alternatives to Conventional Dairy
For a dairy-free dessert, choose plant-based options that are safe for allergies:
- Coconut cream adds a rich, velvety texture to the pudding.
- Non-dairy butters add richness, but they are optional.
Preparation Steps
Every step of your dairy-free pudding assists in another. It helps to make the pudding a consistent, smooth, and delicious dessert.
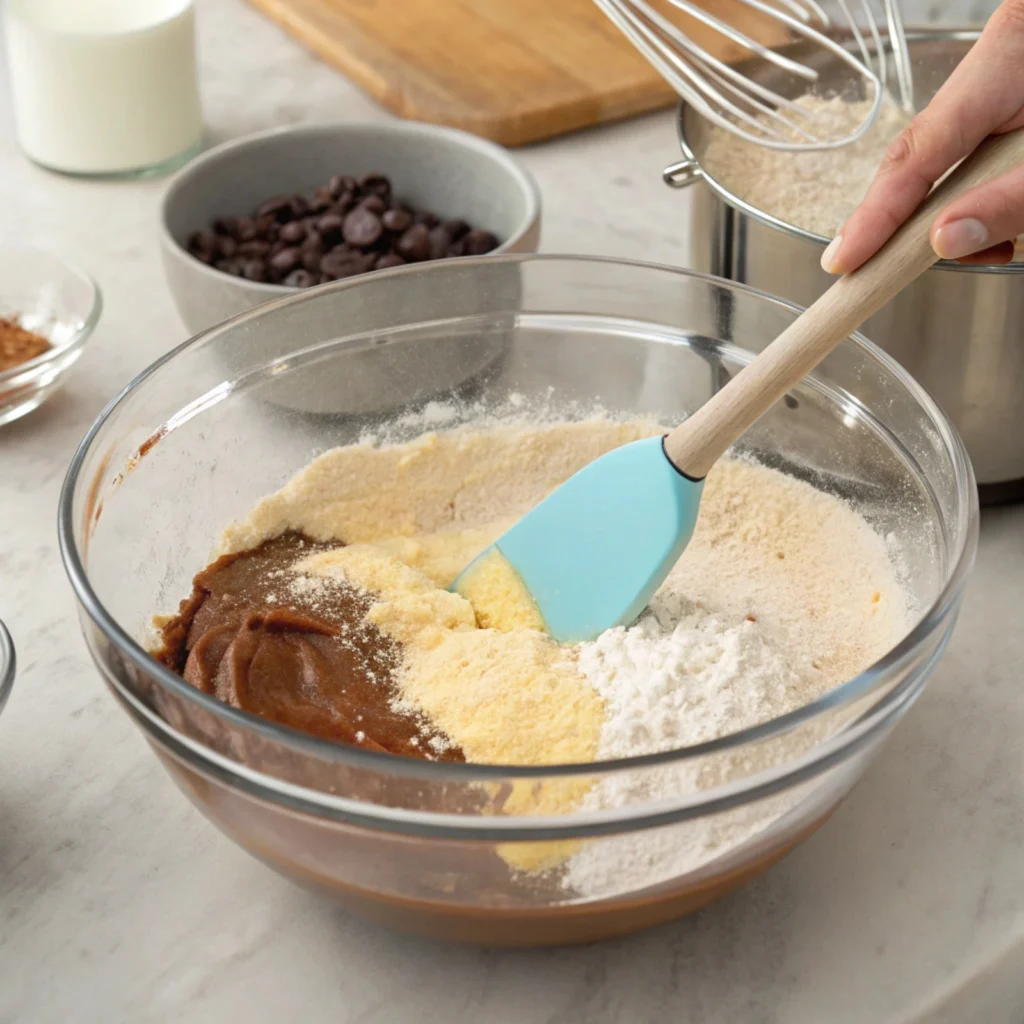
Combining Ingredients
- Place a medium saucepan over medium heat.
- Start by adding your dry ingredients: cocoa powder, cornstarch, and sugar. Whisk them together for a lump-free mixture.
- Add unsweetened almond milk or your favourite plant-based milk to the mixture. Whisk without pause while adding it. This prevents clumping.
- Add a teaspoonful of vanilla essence to enhance the flavours.
Achieving a Smooth Texture
Keep the heat steady and stir often. The pudding thickens in about 5–7 minutes. Use a handheld whisk or blender to remove lumps for a smooth finish.
Enhancing Flavour and Creaminess
Stir in dark chocolate chips or coconut cream when the mixture is thick enough. This gives a rich, creamy texture. It also boosts the chocolate flavour.
Tips for Perfect Pudding
Leave no margin for error with these expert tips:
Avoiding Lumps
- Mix the dry ingredients well. Then, add the liquids.
- Always whisk as you add the milk to ensure a consistent mixture.
Optimal Mixing Methods
- With a silicone spatula, scrape the edges of the saucepan to avoid burning on the top.
- Don’t rush; low to medium heat works best for smooth results.
Balancing Flavors
Taste as you go! You can change the sweetness. Add more sugar, or use a pinch of salt to balance out too-sweet pudding.
Customizing Your Pudding
Customize your pudding to make it special!
Adding Flavour Variations
- Mint: Add a drop of peppermint extract.
- Spice: A cinnamon or chilli powder for a Mexican chocolate twist.
- Coffee: Add 1–2 teaspoons of espresso powder for mocha pudding.
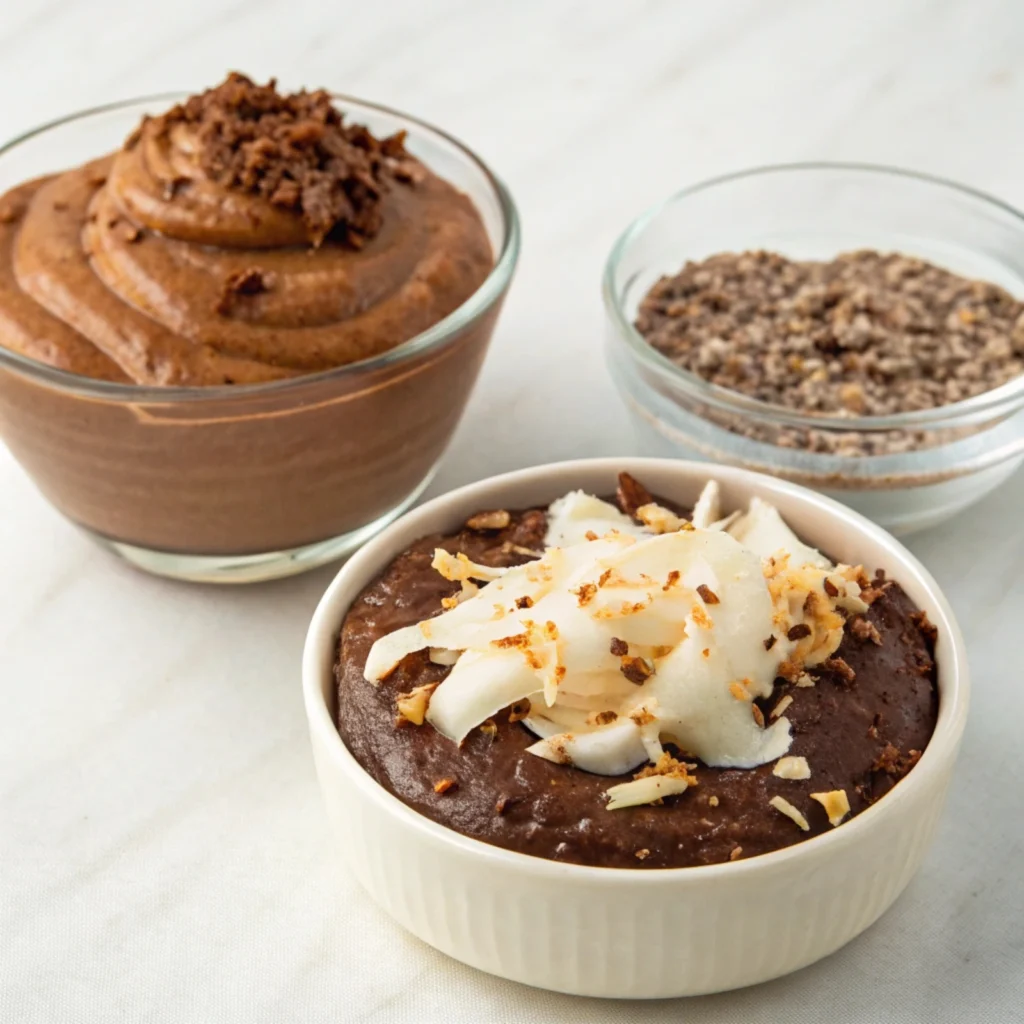
Enhancing with Toppings
- Fresh berries, like raspberries and strawberries.
- Chocolate shavings or curls.
- Chopped nuts or coconut flakes for some crunch.
Incorporating Healthy Add-Ins
- Stir in chia seeds for added fibre.
- For a heartier dessert, add a scoop of plant-based protein powder.
Dietary Considerations
This flexible recipe fits many dietary needs. It’s perfect for get-togethers and for people with unique tastes.
Green Cuisine Options
Use plant-based milk, like almond, oat, or soy, to keep this recipe vegan. Try dairy-free dark chocolate chips instead of regular ones. Make use of natural sweeteners such as agave nectar or maple syrup. They add sweetness and keep the flavour. These easy swaps keep the recipe tasty and plant-based.
Gluten-Free Considerations
A gluten-free diet can be followed with this recipe. It thickens using the cornstarch or arrowroot. Check out the labels of packaged foods such as chocolate chips and sweeteners. Could I have those gluten-free , please? As such, everyone can enjoy the dessert without worrying.
Paleo and Low-Carb Adjustments
It’s simple to modify this recipe to satisfy paleo or keto guidelines. Add monk fruit sweetener, stevia, or coconut sugar to reduce carbs. Choose unsweetened almond milk or coconut milk for paleo and low-carb. By swapping a few ingredients here and there, these alterations make your dessert both tasty and dietary.
Serving Suggestions
Here are some fun ways to serve your dairy-free chocolate pudding:
Occasion-Specific Ideas
- For a classy dinner party, serve in elegant dessert cups with a mint leaf garnish.
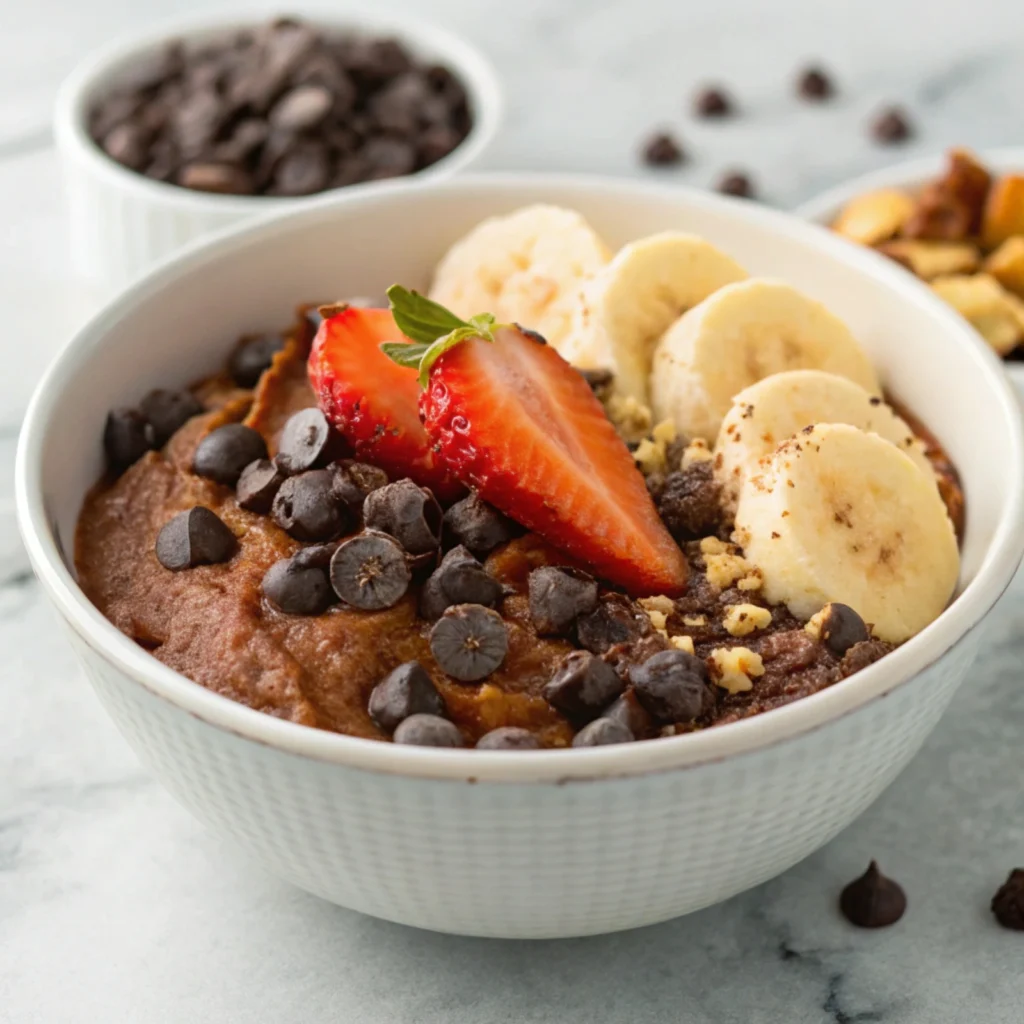
- Layer granola, fresh berries, and almond butter in a parfait. This brunch treat is tasty and perfect for Instagram.
Pairing with Complementary Desserts
Enjoy your chocolate pudding with other rich desserts for a tasty treat.
- Savour it with moist chocolate cupcakes. They’re a real treat for chocolate lovers!
- Add it to a chocolate fondue spread. Include fruits and marshmallows for dipping. It’s great for gatherings!
- Serve it with a berry coulis. This adds a sweet and tangy touch that boosts the rich chocolate taste.
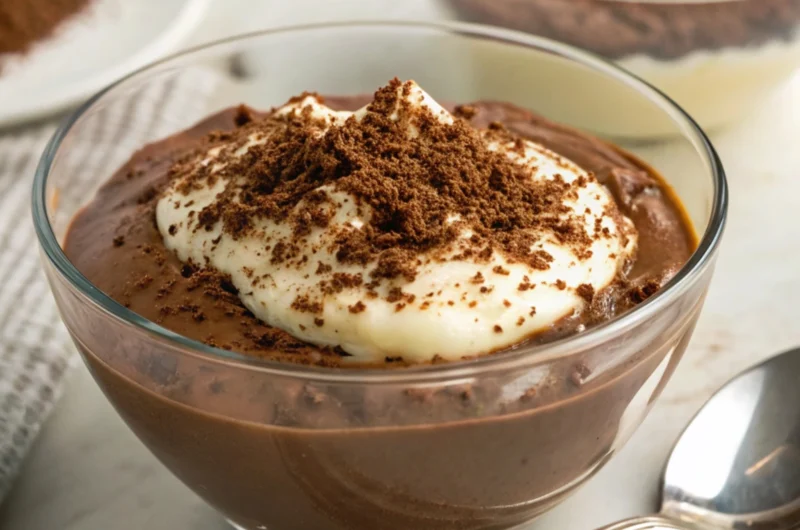
Creative Presentation Ideas
- Spoon the pudding into mason jars or small glass containers for a trendy look. Add layers of crumbled cookies or nuts for extra texture.
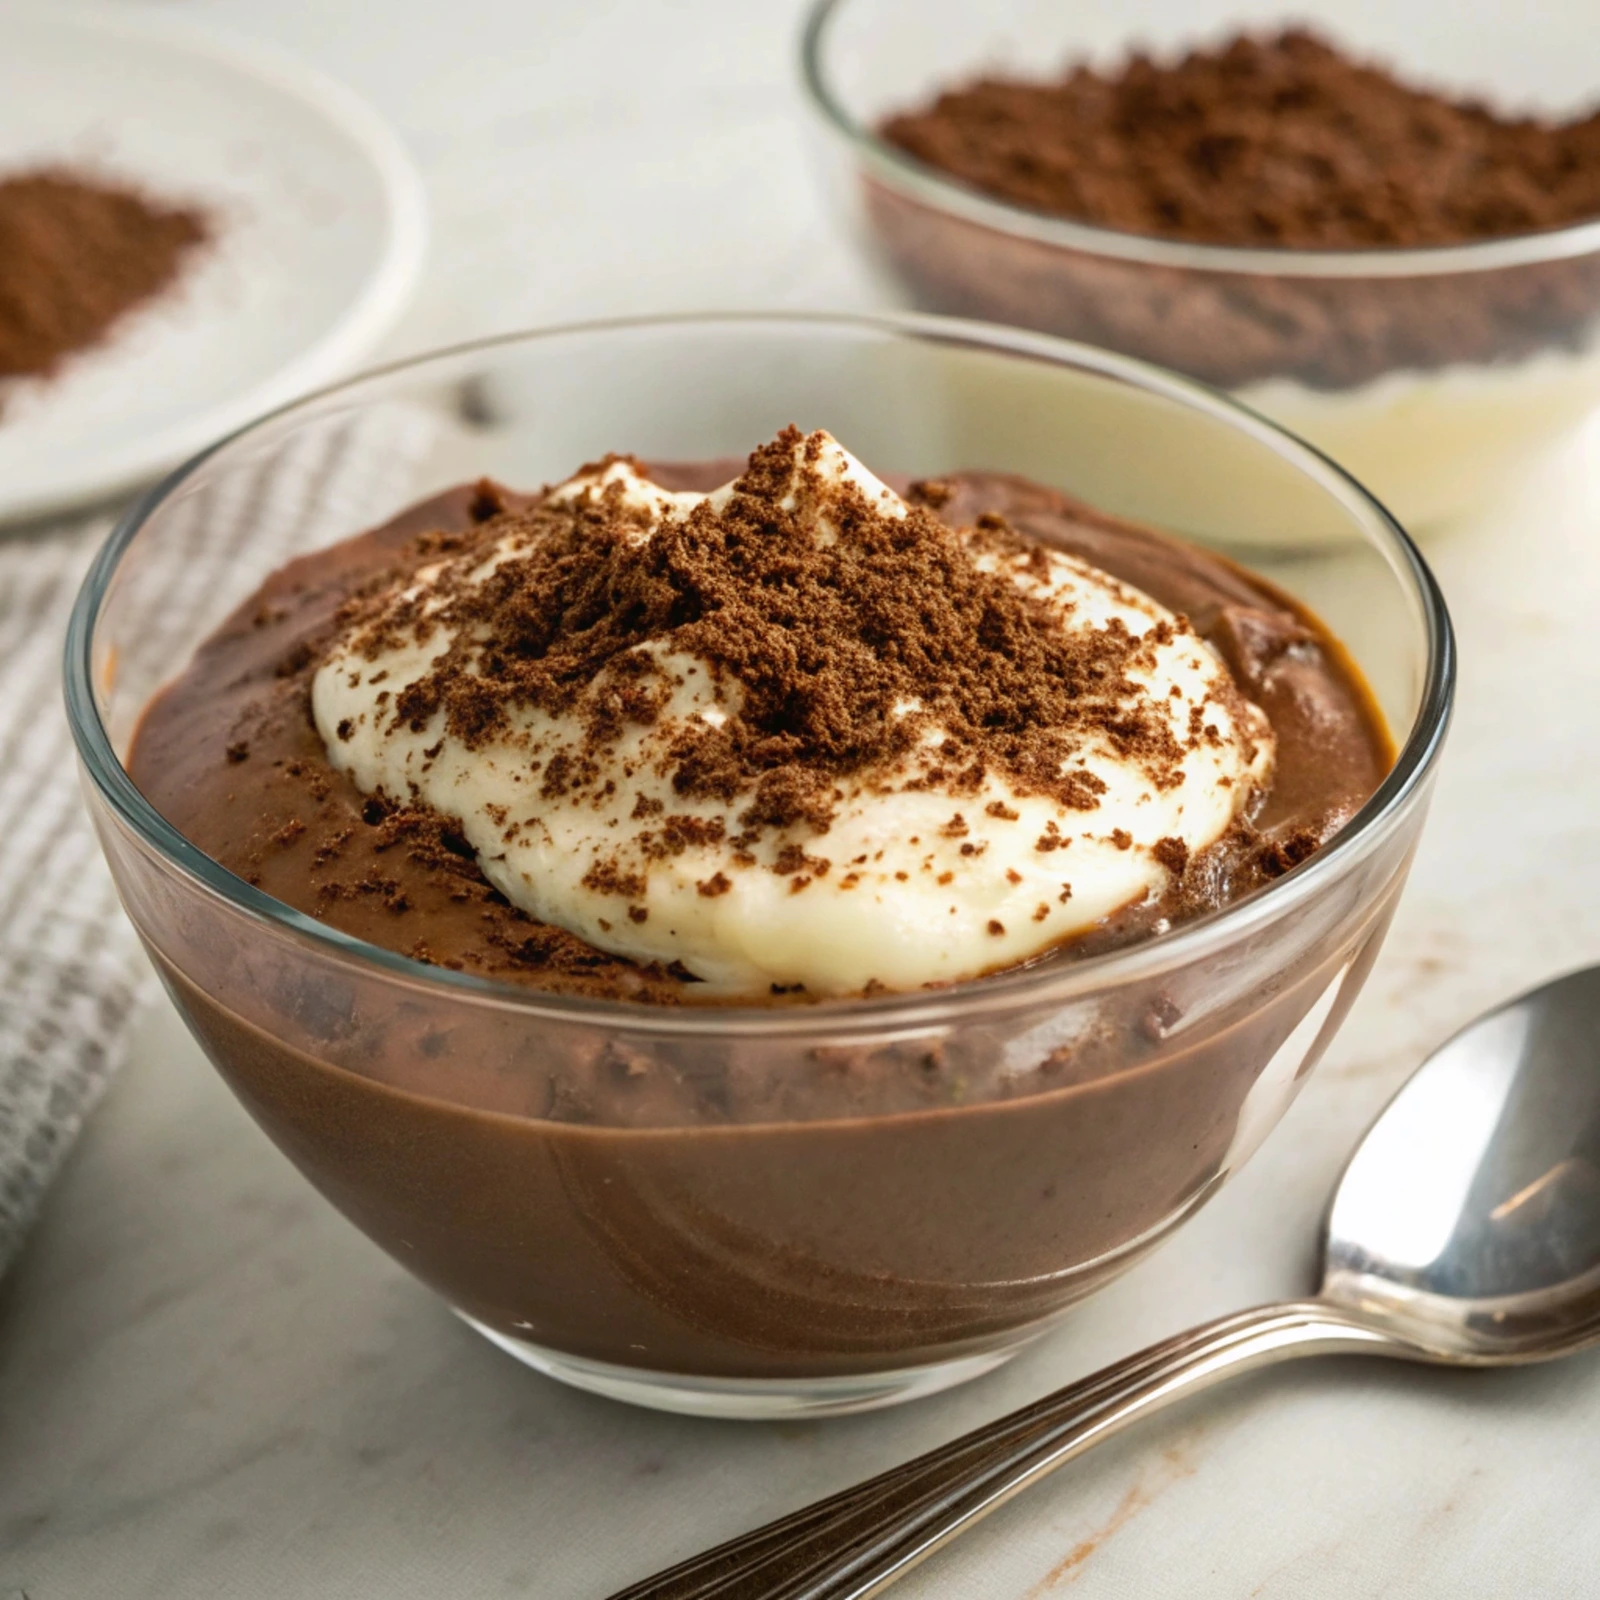
- Top it with whipped coconut cream. Then, sprinkle cocoa powder on top. Finish it off with dark chocolate shavings. This adds a café-style touch that feels both luxurious and homemade.
- Serve it on a nice plate. Add edible flowers or a drizzle of caramel sauce for an elegant touch.
These tips will make your dairy-free chocolate pudding a hit at any table!
Storage and Shelf Life
Here are some storage tips to keep your pudding fresh and tasty.
Short-Term Storage Tips
Put your pudding in an airtight container. Then, please place it in the refrigerator for the best results. Proper sealing helps maintain its flavour and keeps it safe to eat for up to 3–4 days. If you plan to enjoy it over a few days, check for any changes in texture or smell before serving.
Maintaining texture over time
Press the plastic wrap against the pudding until it comes into contact with the top. This prevents skin from forming on the surface. It locks in moisture. This keeps the texture silky and smooth, even after hours in the fridge.
Reviving Leftovers
If your pudding thickens or has an uneven texture, don’t worry! Whisk it well to get it creamy again. Heat it on the stove or microwave over low heat while stirring to achieve a smooth result. This will bring back its rich texture. It will be as enjoyable as when it was first made.
Recipe Variations
Coconut Milk Chocolate Pudding Recipe
For a tropical twist, use coconut milk as the liquid base. This creates a rich and creamy pudding. It has a light coconut taste that goes well with chocolate. Top it with toasted coconut flakes for extra texture. It’s perfect for coconut lovers!
Paleo Chocolate Pudding
Try this low-carb pudding for a healthier treat:
- 1 cup unsweetened almond milk
- 2 tablespoons of chia seeds
- 1 tablespoon cocoa powder
- 1 tablespoon of sugar-free sweetener
- 1/2 teaspoon of vanilla extract
Mix the almond milk, chia seeds, cocoa powder, sweetener, and vanilla in a bowl. Stir well until combined. Let it sit in the fridge for at least 30 minutes. This will thicken into a delicious pudding. Enjoy!
- Natural unsweetened cocoa powder
- Stevia
- Almond or cashew milk.
Mix them, and you’re set!
This makes the pudding smooth and chocolatey. It’s also paleo-friendly. For extra crunch and sweetness, sprinkle chopped nuts or fresh berries.
FAQs
Can I use any type of milk for these pudding recipes?
Yes, you can use any milk you want. This includes dairy or alternatives like almond, oat, or soy milk.
Can I freeze chocolate pudding?
Yes, you can freeze it. Just keep in mind it may get a bit grainy when thawed. It’s best enjoyed fresh or refrigerated.
Are these recipes gluten-free?
Yes, all recipes are gluten-free if your ingredients are certified.
Can I make these recipes without refined sugar?
Definitely! You can use stevia, maple syrup, honey, or other natural sweeteners instead.
What type of cocoa powder works best for chocolate pudding?
Unsweetened cocoa powder works well. You can choose either natural or Dutch-processed based on your taste.
Do I need to refrigerate the pudding before serving?
Chilling it for 2-3 hours helps thicken the pudding and boost its flavour.
How do I thicken the pudding?
Then, based on your recipe, add cornstarch, tapioca starch, or agar-agar to thicken it.
Are these recipes safe for young children?
Absolutely! No wonder these pudding recipes are the most liked by kids and adults. Tweak the sweetness according to their palate.
Conclusion
Pudding: An amusing dessert that you can customize for every event. Here are some tips on how to elevate your pudding! These are also great for quick, on-the-go family snacks. At gatherings, you can experiment with new flavours. Have fun with it and get creative with your ingredients!
How to Make Dairy-Free Chocolate Pudding
Course: DessertCuisine: Vegan4
servings10
minutes200–250 per serving
kcal15
minutesThis chocolate pudding is creamy and dairy-free. It’s a tasty treat for all! It’s easy to make with cocoa powder, almond milk, and coconut sugar. The pudding is smooth and flavorful. It pairs well with fresh toppings like berries or dairy-free whipped cream. This chocolate pudding is great for vegans, people avoiding dairy, or anyone who wants a lighter dessert. It will satisfy your sweet tooth!
Ingredients
A quarter cup of powdered cocoa
One-fourth cup of cornstarch
Half a cup of coconut sugar, or any other sweetener of your choice
One-fourth of a teaspoon of salt
Instructions
- Combine cocoa powder, cornstarch, coconut sugar, and salt in a medium saucepan.
Gradually add almond milk, whisking until smooth. - Heat to medium. Until the mixture thickens, stir it continuously. It will take roughly five to seven minutes.
- Take off the heat and mix in the vanilla extract.
- Pour the pudding into serving dishes and cool for a short time. Cover and refrigerate for at least 2 hours.
- Chill it and enjoy your creamy, dairy-free chocolate pudding!
Recipe Video
Notes
- Top with fresh berries or dairy-free whipped cream for an extra treat!